
How to Schedule TikTok Posts from a Computer
Connect TikTok through OAuth, prepare the video and caption, pick a slot on the calendar and preview before publishing. A step-by-step desktop workflow.
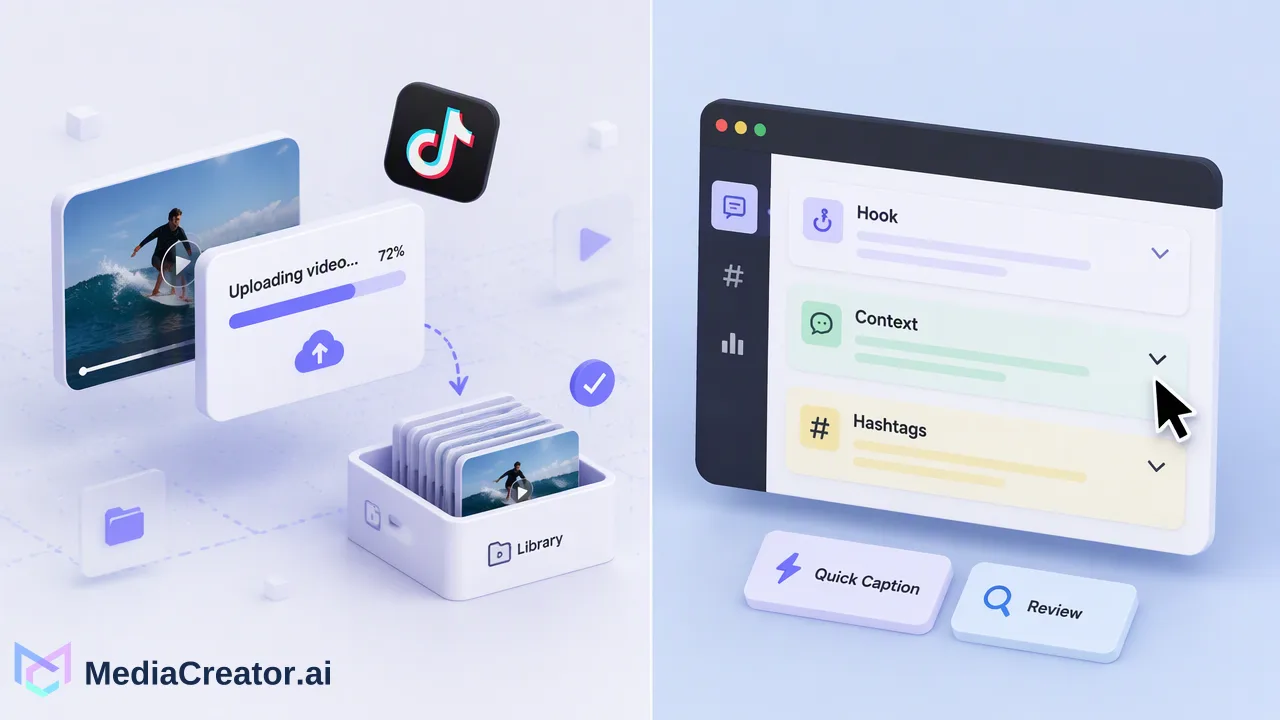
A practical desktop workflow for scheduling TikTok posts: connect, prepare, pick a time, preview and review.
To schedule TikTok posts from a computer, connect your TikTok account to a scheduling workspace through official OAuth, upload the finished video, write the caption, choose a date and time on a calendar and preview the post before it is queued. TikTok also offers its own creator tools in TikTok Studio on the web, which suit a single account. A calendar-based workflow becomes more useful once TikTok is one of several channels you plan together.
Two ways to schedule TikTok posts from a computer
The first route is TikTok's own web tools. TikTok's support center describes TikTok Studio as the place to upload, schedule and edit posts and to review analytics, and notes that some features are easiest to use in a browser. For one account and a handful of videos, that can be enough.
The second route is a scheduling workspace that keeps TikTok next to your other channels. MediaCreator.ai's social media scheduler connects TikTok, Instagram, Facebook and YouTube accounts in one dashboard, so a week of posts is planned on one calendar instead of in four separate apps.
| Question | TikTok's own web tools | Scheduling workspace |
|---|---|---|
| Accounts covered | The TikTok account you are signed in to | TikTok plus Instagram, Facebook and YouTube accounts |
| Planning view | Per-platform content list | One visual calendar with month, week and list views |
| Caption adaptation | Written inside TikTok | Adjusted per target platform before queuing |
| Best for | A single account with a light schedule | Creators, teams and agencies posting across several channels |
Neither route changes what the video itself needs to be. The steps below focus on the workspace approach because it adds the planning layer that the platform tools do not.
Step 1: Connect your TikTok account
Connection happens through TikTok's official OAuth 2.0 flow. You sign in on TikTok, approve the permissions requested and return to the workspace. You do not share your TikTok password with the scheduling tool and no browser extension is required.
Two practical points before you start:
- Connect the account you actually publish from, not a personal login you use for browsing. Teams that manage several brands should confirm which profile they are authorizing before approving.
- The connected-account allowance is one combined total across all platforms, so a plan with a small cap fills up faster when each brand has TikTok, Instagram, Facebook and YouTube profiles. Check the limit for your plan on the pricing page before onboarding many profiles.
If TikTok later asks you to reauthorize, repeat the approval rather than reconnecting from scratch.
Step 2: Prepare the video and caption
Prepare the file the way you would for a manual upload: a vertical video that has been reviewed for audio, cuts and any on-screen text. Put the finished file in the Media Library so it is available for the composer and can be reused.
For the caption, write the hook first, then the context, then hashtags. Quick Caption can draft copy from an uploaded image or video, and you can ask for a version that suits TikTok's shorter, more casual tone. Treat the draft as a starting point: read it, remove claims you cannot support and make sure it sounds like your account. AI-assisted copy always needs your review before anything is published.
A short pre-flight checklist helps avoid the most common scheduling mistakes:
- The video plays correctly from start to finish and the first seconds work without sound.
- The caption has no leftover placeholders or copy pasted from another platform.
- Mentions and hashtags are spelled correctly.
- Any sound, music or branded content settings required for this post are set in the settings available to you.
Step 3: Choose a time on the calendar
Open the composer, select the TikTok account, attach the video and pick a date and time. The calendar shows scheduled items in month, week or list view, so you can see gaps and clusters before committing.
How to choose the slot:
- Check your own history first. If your plan includes Analytics, its Timing tab shows when your posts have performed in the past. Use it as a guide, not a promise: any suggested time is a starting point for testing, and results vary.
- Spread posts out. Avoid stacking several videos in the same hour unless a campaign requires it.
- Confirm the time zone. Make sure the time you pick reflects the audience you want to reach and the time zone shown in the composer.
- Leave a buffer. Schedule far enough ahead that you can still fix problems before the slot arrives.
If the video is not ready, save it as a draft. Drafts stay on the calendar side of the workflow without being queued.
Step 4: Preview, then review the platform limits
Before queuing, open the per-platform preview. It shows how the caption and media will appear for TikTok so truncated captions or cropped text are caught while you can still edit. If you are posting the same video elsewhere, adjust each destination separately instead of copying one caption across.
TikTok sets its own rules for what can be published through connected tools, including account requirements, video length and format, and available post settings. Those rules can change, so read the options shown for your account in the composer and TikTok's current guidance rather than relying on a fixed list. If a setting is not offered for your account, the platform has not made it available to connected tools.
After you confirm, the post appears on the calendar. Posts move through draft, queued, published and failed states, so a missed or rejected post is visible instead of silently disappearing. If one fails, open it, fix the cause shown and reschedule.
Common mistakes to avoid
- Treating scheduling as publishing without review. Scheduled posts should still be checked by a person, especially AI-assisted captions.
- Using one caption everywhere. TikTok captions are read differently from YouTube descriptions or Instagram captions; adapt them.
- Ignoring failed states. Check the calendar after each slot so failures are caught the same day.
- Planning only TikTok. If the same video also goes to Reels or Shorts, plan the staggered times together on one calendar.
- Assuming a good slot guarantees reach. Timing is one input among many; no scheduling tool can promise views or growth.
FAQ
Can TikTok posts be scheduled from a computer without the mobile app?
Yes. TikTok's support center describes TikTok Studio on the web for uploading, scheduling and editing posts, and a scheduling workspace connected through OAuth lets teams plan TikTok videos from a desktop browser.
Does connecting TikTok to a scheduler require sharing a password?
No. MediaCreator.ai connects through TikTok's official OAuth 2.0 flow, so approval happens on TikTok and no password is shared. No browser extension is needed.
How can teams avoid publishing the wrong caption on TikTok?
Use the per-platform preview before queuing, adapt the caption for TikTok rather than reusing another platform's text and have a second person review AI-assisted drafts.
What should creators do when a scheduled TikTok post fails?
Open the failed item on the calendar, read the reason shown, correct the video, caption or account connection and reschedule it. Reauthorizing the account may be needed if the connection has expired.
Learn More
Choose the product information that fits the next step in your workflow.
Get Started with MediaCreator.ai
Discover the power of AI-driven content creation
Related Articles
Continue learning with these related guides
How to Bulk Schedule Social Media Posts for a Month
Plan, batch-draft, adapt and place a month of posts on a visual calendar, with a review step before anything goes live.
BlogAI Social Media Content Creator: Turning One Idea into Platform-Ready Posts
How a solo creator can use an AI social media content creator to turn one idea into TikTok, Instagram, Facebook and YouTube drafts, then review and schedule.
BlogScheduled Publishing: Automate Your Social Posts
Learn how to optimize your content strategy through automated social media publishing, ensuring you reach your target audience at the perfect moment.
Blog